eDNA Science
How eDNA sampling works, step by step
January 18, 2025 · 7 min read
An eDNA test looks deceptively simple from the outside: swab something, put it in a tube, mail it in, get a species list. What actually happens between those steps involves filtration, extraction, PCR amplification, high-throughput sequencing, and a bioinformatics pipeline that compares your reads against reference databases. Here is what the process looks like end to end.
Step 1: Collection
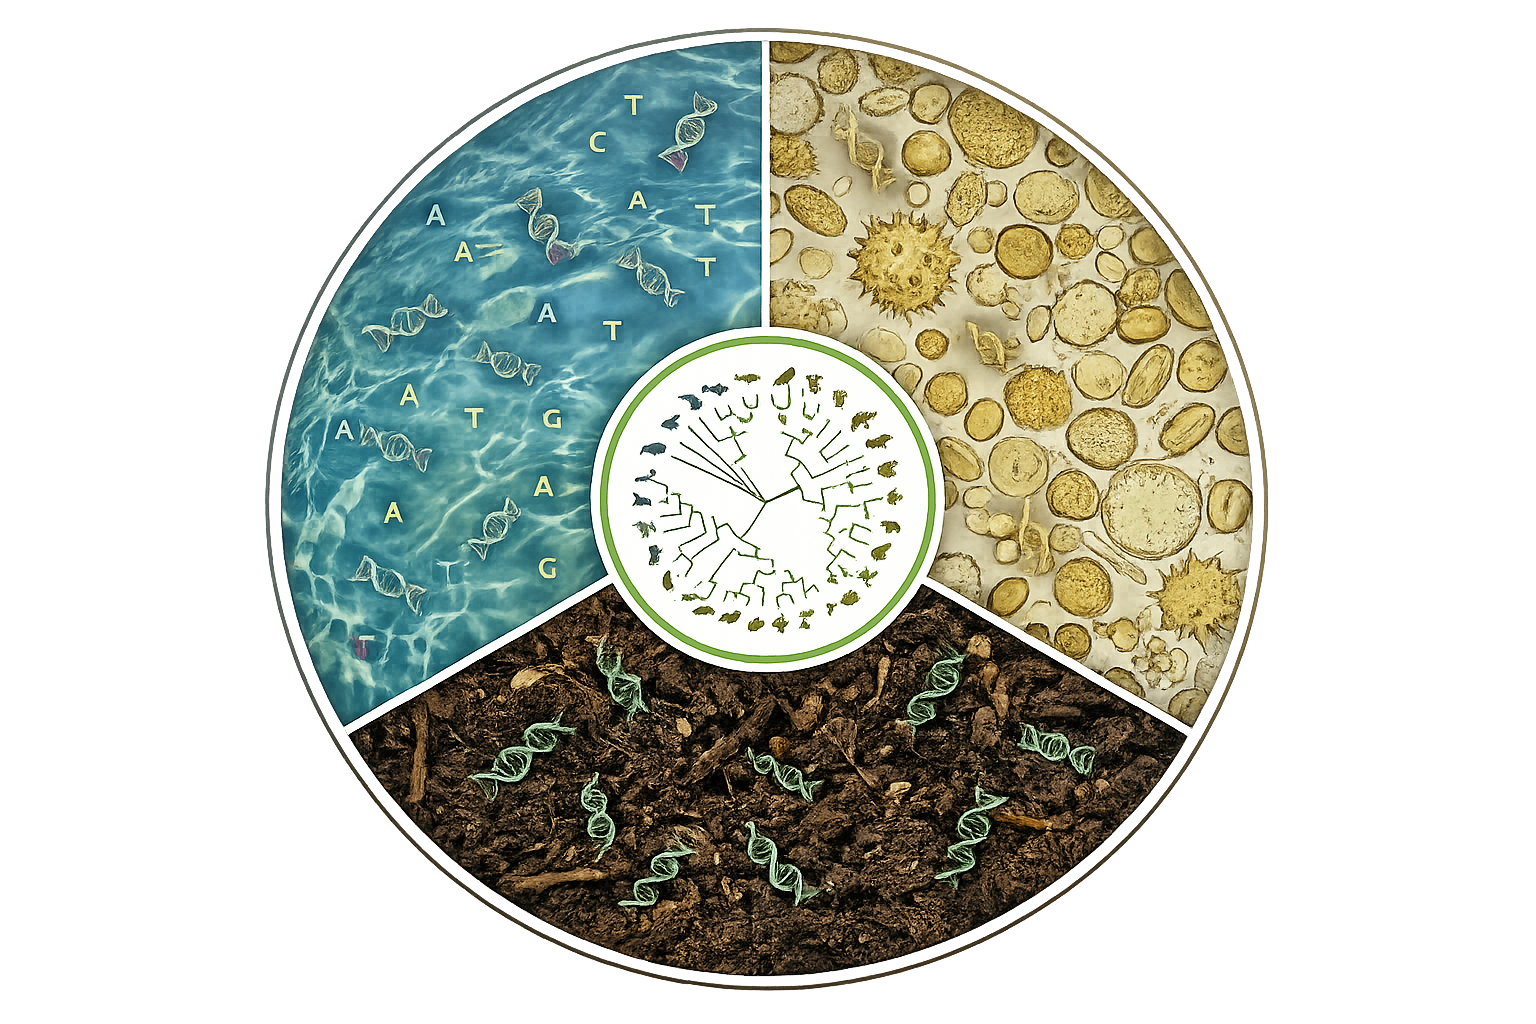
Sampling is chosen to match the target group. Water samples suit fish, amphibians, and aquatic invertebrates. Soil suits mammals, insects, plants, fungi, and reptiles. Flower swabs suit pollinators. Bark or leaf swabs pick up insects, birds, and arboreal mammals that touched the surface.
Volume matters. A pinch of soil holds far less DNA than a liter of filtered pond water. Consumer kits balance detection sensitivity against what a homeowner can realistically collect without special equipment.
Step 2: Preservation
Once collected, the sample is stabilized so DNA does not degrade during shipping. This usually means a preservative buffer, silica desiccant, or ethanol. The clock starts fast: exposed DNA in warm water can lose most of its integrity in 24 to 48 hours.
A good kit ships with a preservative already in the vial and instructions to seal and mail promptly. Freezing helps but is rarely required if the preservative is doing its job.
Step 3: Extraction
At the lab, DNA is separated from everything else — soil particles, plant fibers, humic acids, proteins, cellular debris. Commercial kits use silica columns or magnetic beads to bind DNA while contaminants wash away. The output is a small volume of purified DNA ready for amplification.
Environmental samples are notoriously dirty. Inhibitors from soil, tannins, and organic matter can shut down downstream reactions if extraction is sloppy, so this step is where good labs earn their keep.
Step 4: PCR and sequencing
Polymerase chain reaction (PCR) uses short synthetic primers to copy specific barcode regions of DNA — for example, a slice of the 12S mitochondrial gene that is diagnostic for vertebrates, or ITS for fungi, or COI for insects. Millions of copies are generated from whatever few molecules of target DNA were in the sample.
Those amplified fragments are then read on a high-throughput sequencer. A single run generates millions of short DNA reads that need to be sorted, filtered, and matched to a reference database.
Step 5: Bioinformatics and reporting
Software groups near-identical reads into operational taxonomic units, filters out sequencing noise and low-frequency contaminants, and compares the remaining sequences against curated barcode databases such as BOLD, GenBank, or MIDORI.
The output is a species list, usually with a confidence score based on percent identity and query coverage. A well-written report translates that into ecology — habitat notes, seasonal context, and whether a hit is expected, rare, or unusual for the region.
Frequently asked questions
How long does the whole process take?
From collection to report is typically two to six weeks, with most of that time being lab turnaround and sequencing run scheduling rather than the science itself.
Do I need to refrigerate my sample?
Only if instructions say so. Most modern kits use a preservative that keeps DNA stable at room temperature for the duration of standard shipping.